⚡ Tl;dr
- We spend most of our time on digital products, but nothing beats a whiteboard session for fast iteration of ideas.
- Boxes and lines work “enough”, but if using the C4 model, you’ll want to continue using the power of consistent language and levelled abstractions.
- Use these simple tips to reduce redrawing of your systems, containers (apps/stores) and components and make your diagrams more useful.
🚀 Let’s kick-off
The C4 model gives teams a lightweight layered approach to bring consistency to visual and verbal language about how systems work; while remaining agile.
If you’re new to this concept, start here and read up on why your team could benefit from this simple (yet highly effective) structure.
The C4 model is incredibly powerful for long-term visual documentation, especially when using a modelling tool, but it’s also crucial to our day-to-day conversations as development teams. For example, when you say “System,” your teammates and audience know and agree that you’re talking about the high-level abstraction, not a runnable/deployable object.
It’s also perfect for the speed of iteration we work at (or dream of), as everyone can keep up with the conversation while you’re designing possible options. A whiteboard is still an incredibly powerful tool for iterating on these designs rapidly, quickly drawing up an idea to solve a customer problem, debunking it, iterating, and improving. Doing “just enough” design before jumping into technical choices means you’ve at least considered the obvious risks, such as the security & scalability of a decision, that later on may become technical debt.
Though a vast majority of us now work remotely, or hybrid these days, quickly playing with design ideas on a whiteboard remains a fundamental part of our design process. The C4 model should therefore translate to your whiteboard iteration sessions, allowing everyone in the discussion to follow along with the proposed designs.
Here are some tips to improve your diagrams and allow you to quickly iterate and reuse your “objects” on a whiteboard.
Tip 1: Use (and reuse) sticky notes
Whiteboard diagrams usually consist of simple boxes and lines - simple and effective (if done right). Sticky notes will help you iterate faster - why? You won’t have to erase and redraw all of your boxes when you underestimate how much you will add to the whiteboard or realize you missed something in your design. Conversations dive into areas you weren’t planning when you started the discussion, so quickly moving your sticky note “objects” around helps remove the annoyance of trying to squish things in. The only things you’ll have to redraw are the connections and any bounding boxes.
Another benefit is that you can reuse these when drawing another diagram, and when “zooming” into the next level of the C4 model abstractions. Try it out!
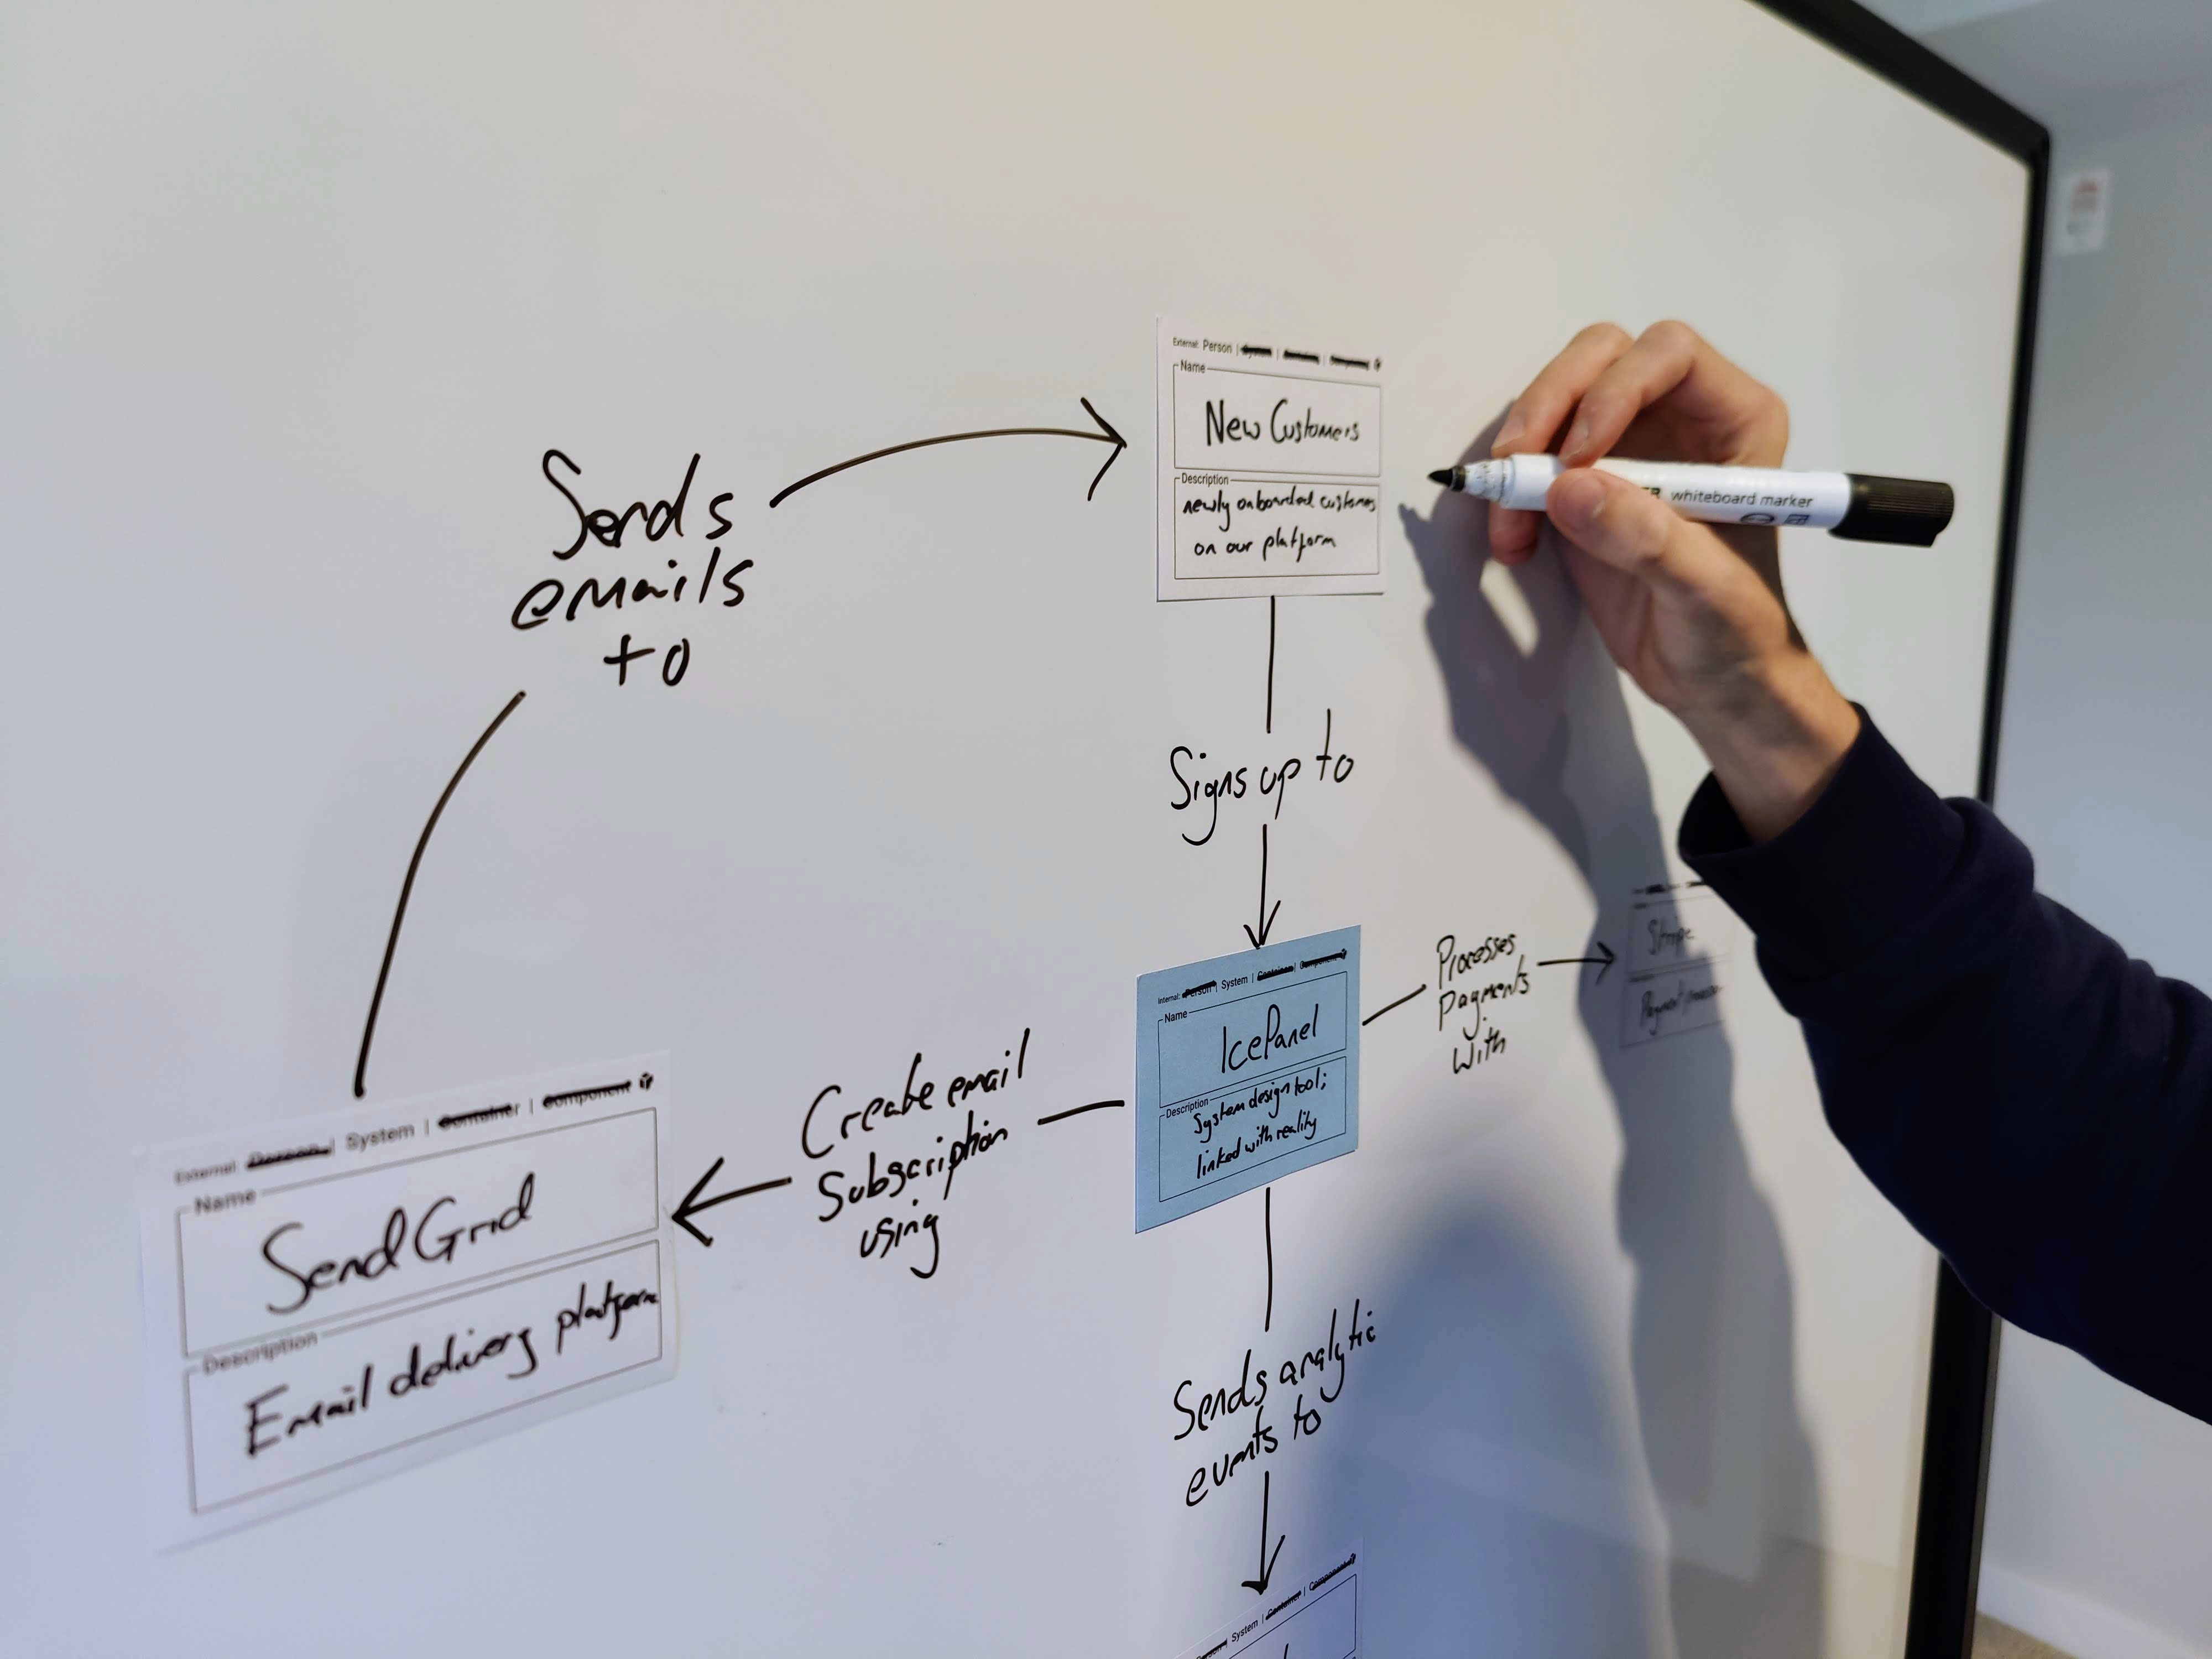
We also recommend adding more information to these sticky notes other than the name of the object you’re representing. Add what type of object that sticky note represents, such as “System”, “Container”, or “Component” and a simple description that others can quickly read and understand if they are unfamiliar with what it is.
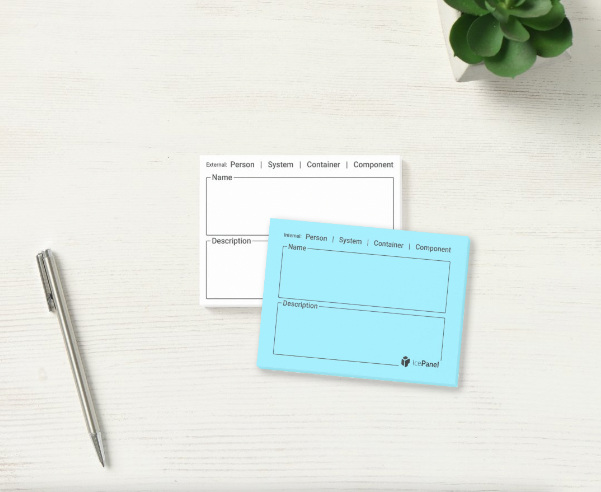
We created some templated C4 stickies so you don’t forget to add details that would help others understand much quicker. This simple structure helps create consistent messaging within your team and helps speed up knowledge sharing. Elon could have probably done with these on his “code review”; things look a little squished over on that right side 👀 (not to mention the poor explanation of abstraction levels, no labelled connections and mixed abstractions in the half “key”).
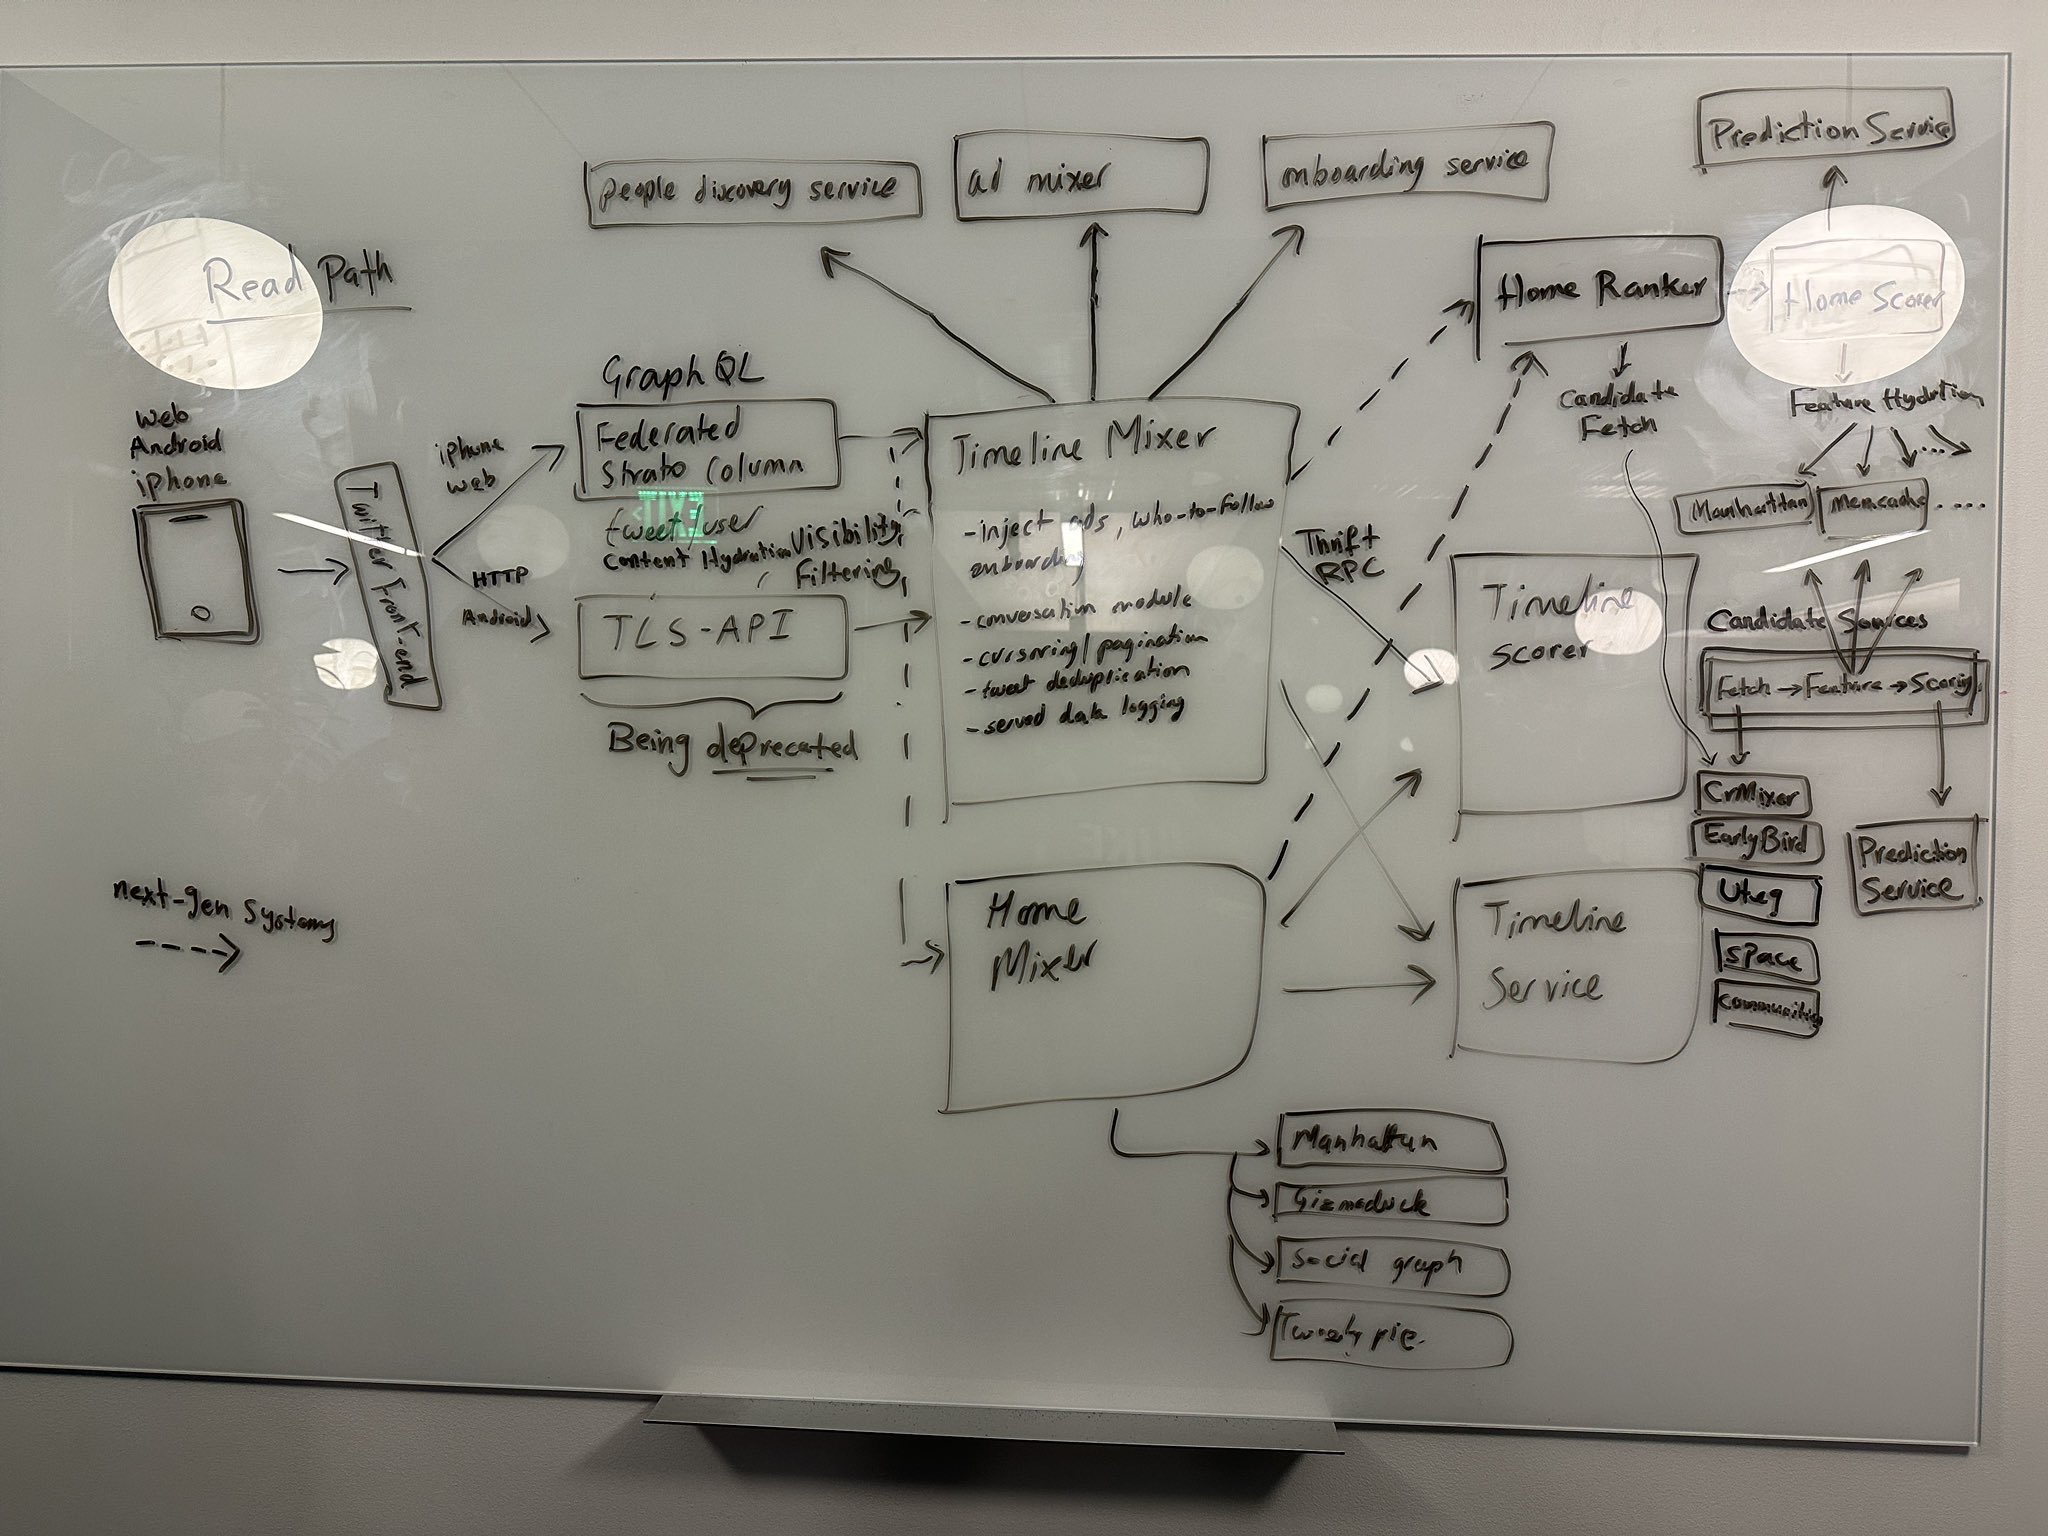
twitter.com/elonmusk/status/1593899029531803649/photo/1
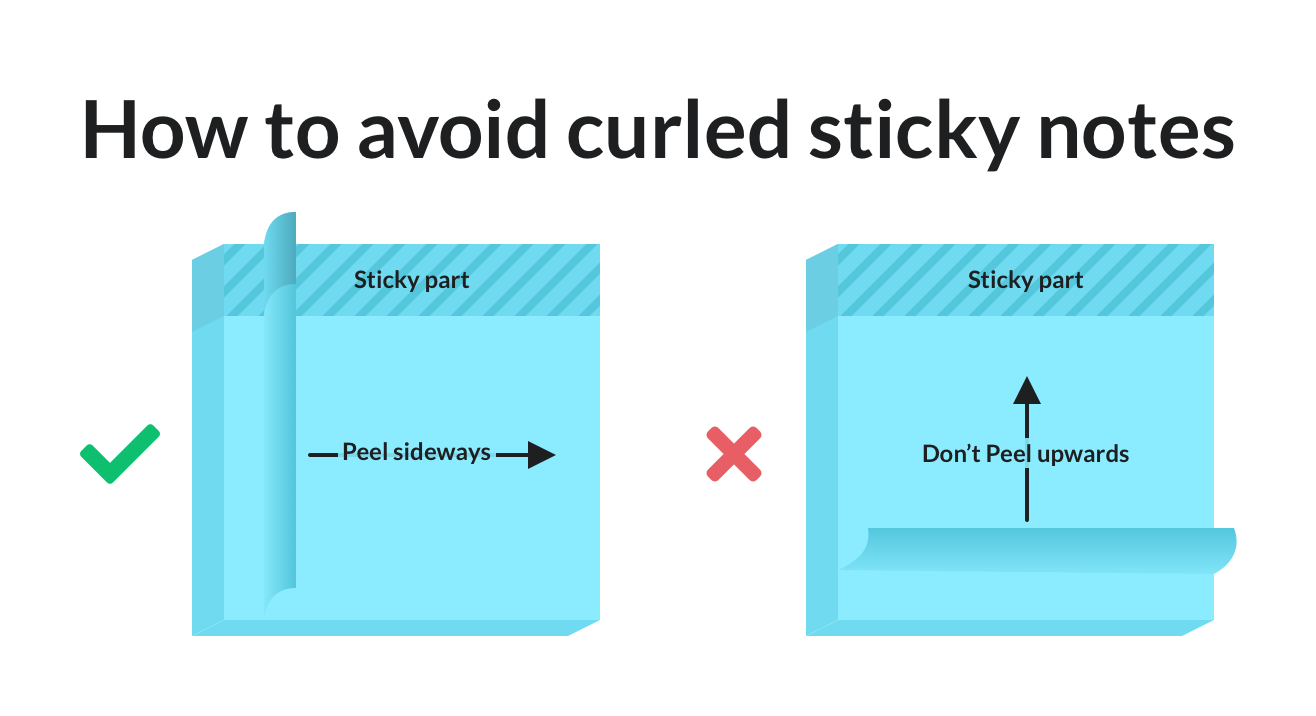
Sticky note trick: Peel off your sticky note sideways instead of from the bottom upwards to avoid the curling at the sticky side of the paper. This makes them stick flatter to the surface and live longer when peeled and reused.
Tip 2: Set the scene
What story does the diagram tell? Make sure it is clear what the diagram is showing, so others who may view this, later on, know what they’re looking at.
A diagram without setting the context means people have to understand what they’re looking at before digesting if it’s correct/valid. This wastes cognitive power on something a short sentence or title could have explained.
Tip 3: Label, key, date
Now you’ve converted to the power of sticky notes, and you’ve explained what the diagram shows, there are a few general diagramming rules you should follow to make your visuals more helpful.
🏷️ Label everything Unlabeled lines are ambiguous and can cause mistakes if people guess. It’s incredibly difficult to fully understand a diagram with unlabelled lines, as the relationship is not always as obvious as you think. Adding a simple label to any lines/connections between objects helps show the relationship between those parts of the design. Simply adding the reason those objects are connected e.g. “Requests X from” or “Sends an alert message to” helps explain a lot more of the story to your audience.
🔑 Add a key Unexplained notation leads to dangerous assumptions. If you’re using colour, dotted lines or any form of visual design, make sure it is explained and visible somewhere on the whiteboard. Adding a simple key/legend will result in a better understating of what you’ve drawn.
📅 Add a date When was this design relevant? Simply adding a date somewhere visible will also help explain when the drawing was relevant. New onboarding engineers will have a better understanding when they stumble across your artifacts later (if you’ve taken a photo or created a digital version) and they can determine whether or not it is still likely relevant.
Tip 4: Assume you’re wrong
Part of being agile is to be comfortable being wrong. Your design will be wrong, which is fine and expected. New technical considerations, constraints or knowledge will be learned along the journey to solving your customer’s problems. This is mostly a consideration for how much detail you add, whether to your whiteboard diagram or docs - try not to over-design. As Grady says, “Architecture represents the set of significant design decisions that shape the form and the function of a system, where significant is measured by the cost of change.” As such, focusing on the detailed design of areas you’re yet to discover the constraints of, is likely better done later on.

Tip 5: Capture key decisions
Make sure you capture the key decisions made after you’ve finished your whiteboard masterpiece. Take a photo of the whiteboard, capture this as evidence of the conversation you just had and add the key decisions to some notes. This turns a conversation into a useful artifact for others to reference.
Even better, add these decisions into a modelling tool that can be used as a shared knowledge base of your system architecture’s current and future design.
🏁 To wrap up
Whiteboard diagramming is a powerful tool when visually explaining and iterating on ideas quickly. It’s perfect for collaborative sessions as others can join in the conversation and add to the open dialogue. Using these tips and the C4 model abstractions, you can turn mediocre whiteboard diagrams into useful artifacts. These artifacts will help explain to others how your design works and spark discussions with the many people who come across them, whether in slack, teams, confluence or your slide decks.
What do you think? Have we missed any critical elements to make whiteboard diagramming more useful?
Stay chill 🧊